BACK
Rebuilding an Alternator
Written by: Tercel GTS
Ok, as some of you may know, I build alternators and alternators for a living. I took a series of pictures of a Paseo alternator that came through my shop not long ago, and figured I would share the info.
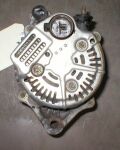
This is the back of the alternator before starting. Remove the battery post nut and insulator, then the 3 small nuts (some may have a small bracket with a small bolt also) holding the cover on.
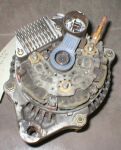
This is what you should see now. There is a pair of screws retaining the brush holder in, a good #2 phillips will be needed for all the screws inside.
After removing the brush holder it should look like this. Pay close attention to the condition of the copper rings. Make sure they aren't grooved too deep. If they are, it will take special tools to repair them.
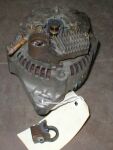
One screw holds the regulator to the rectifier(diode assembly), and 2 longer ones hold the regulator in place, then 4 very short screws will hold the wires to the rectifier. After removing these parts you should see this.
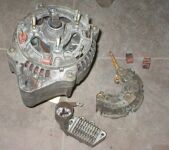
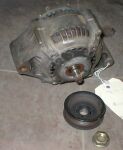
Remove the single nut from the front and the pulley should slide off like this.
Then remove the 4 nuts holding housings together, a slight bump on rotor and they should seperate. Then you should see this.
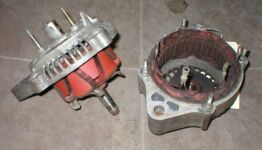
Tap the rotor from the housing.
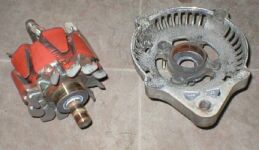
This is probably as far as most of you want to go. Removing and resetting the stator (ring of wire) is a risky thing, even for an experienced rebuilder.
But, if you are planning to powdercoat the housings, remove the 4 studs holding the stator in. Bend the rectifier leads to the center, out of the way. Find a solid surface, then hit the mounting ears of the housing on a downward swing to knock the stator lose, working back and forth till it slides out... unless you have the special tools for pulling it. Then remove the 4 screws holding the bearing cover and bearing in.
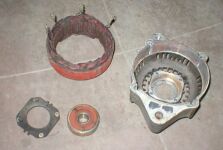
From here I get to use a few custom tools for cleaning.
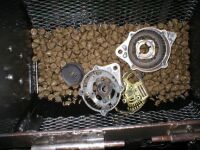
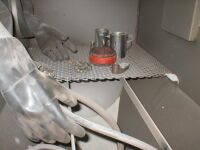
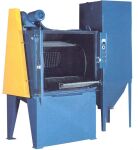
And we have a steel shot blaster like this one from Viking.
So, the housings come out like this.
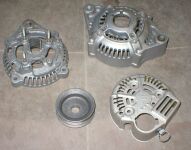
After cleaning, reinsulation, and replacing the bearings, we start re-assembly.
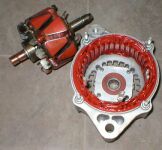
Basically, put it back together in reverse of tear-down. Here are a few finished pictures.
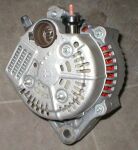
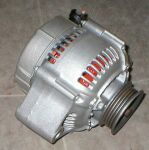
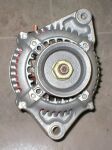
BACK


