BACK
Paseo Front Sway Bar Installation
Written by: Daox
Here we go, this one has it all. Its a great handling modification, and can be had at for a great price. What more could you ask for? How about an incredibly easy installation? Well, we can put a check in that column too. As far as difficulty of installations this is about as easy as it gets. Installing the Paseo front sway bar should take around an hour or so, even if your not someone who normally works on cars. You only need a handful of tools too. So, lets get started.
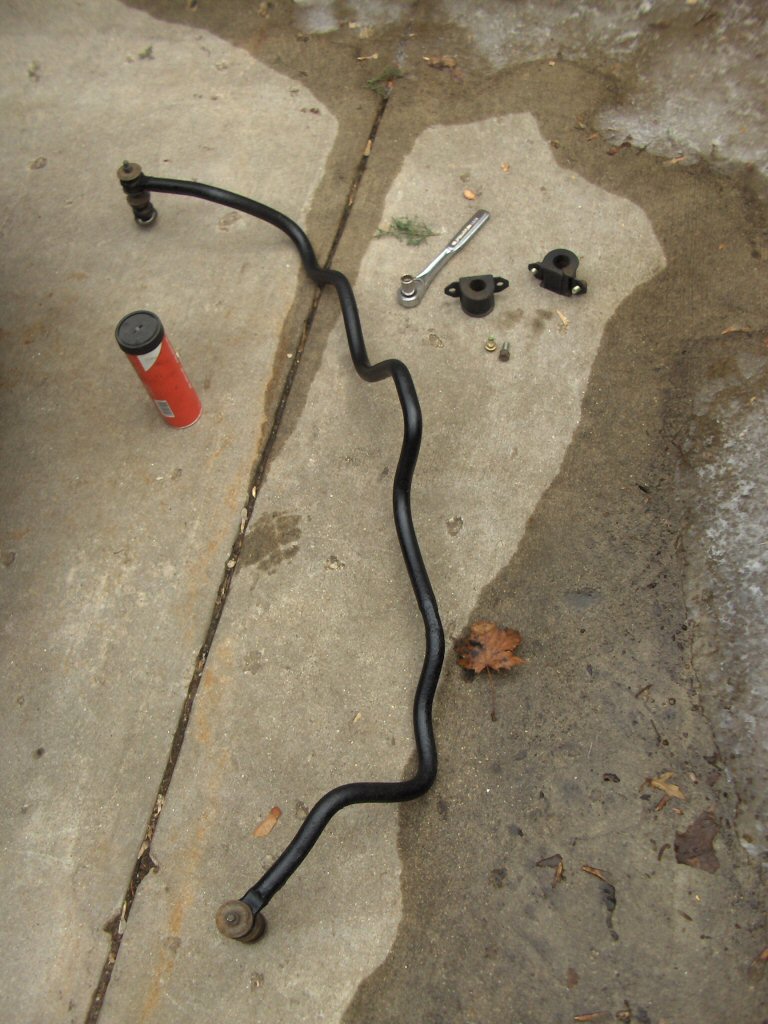
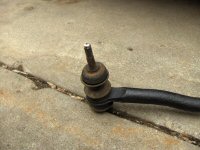
We start out with our standard Paseo front sway bar and its hardware. Take a minute to inspect the endlinks and bushings for damage. If they are damaged you may want to replace them. These pieces of hardware definitly aren't getting any newer and most likely will have a fair amount of rust on them if pulled from a salvage yard.

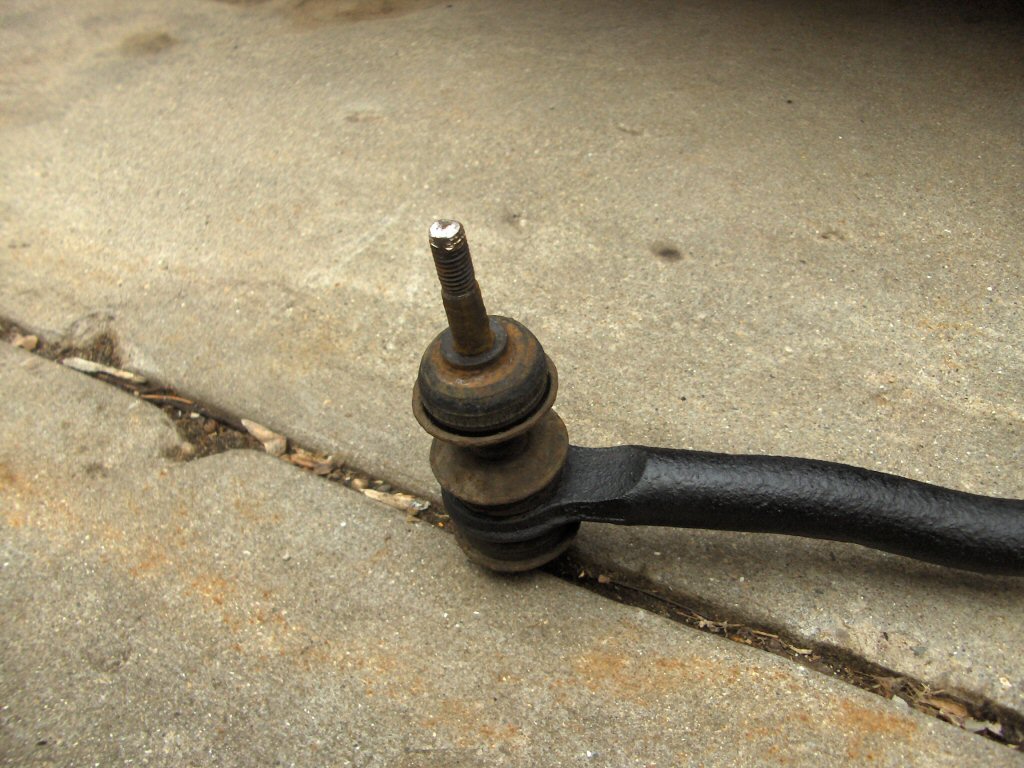
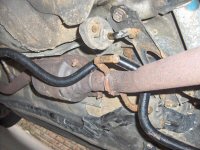
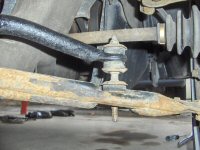
Alright, down to business. Remove the nut on the endlinks as well as the first bushing and its washer. The picture shows what you should have left. Make sure to do both ends.
Jack up the car and get under there with the swaybar.
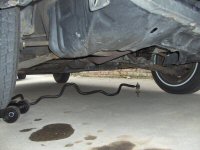
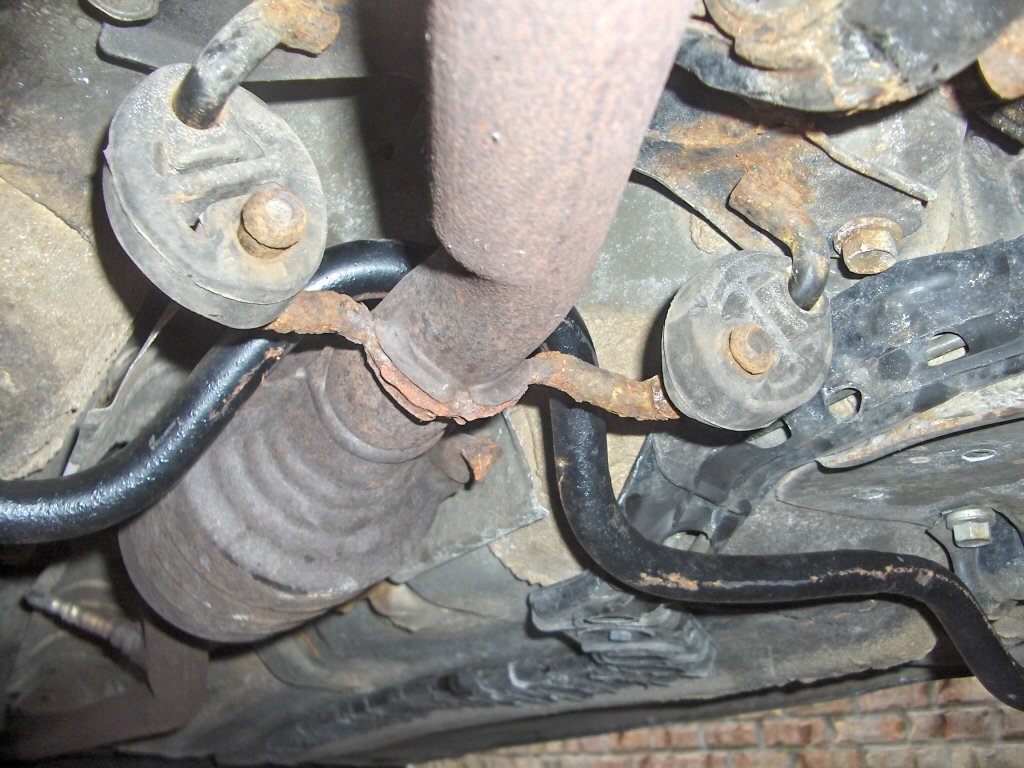
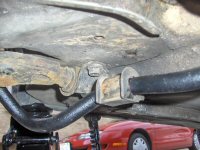
Now, the sway bar must go up and over the exhaust pipe. If you have the car jacked up far enough this shouldn't be a problem. I was able to twist and turn the sway bar enough to get it over the exhaust without too much hassle.

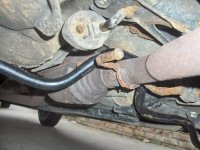
However, by doing this near the front of the car you have to get the sway bar back behind the exhaust rubber hangers. This isn't too bad. Just go ahead and pull the rubber hanger off of the exhaust tube end as shown in the right picture. Rotate the rubber hanger so it isn't in the way.
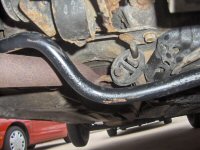
Now, you have to work the sway bar over the hooks on the exhaust tube one side at a time. Its hard to explain, so just look at the pictures.
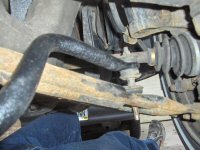
With the sway bar now behind the hooks you can put the rubber hangers back on the hooks.

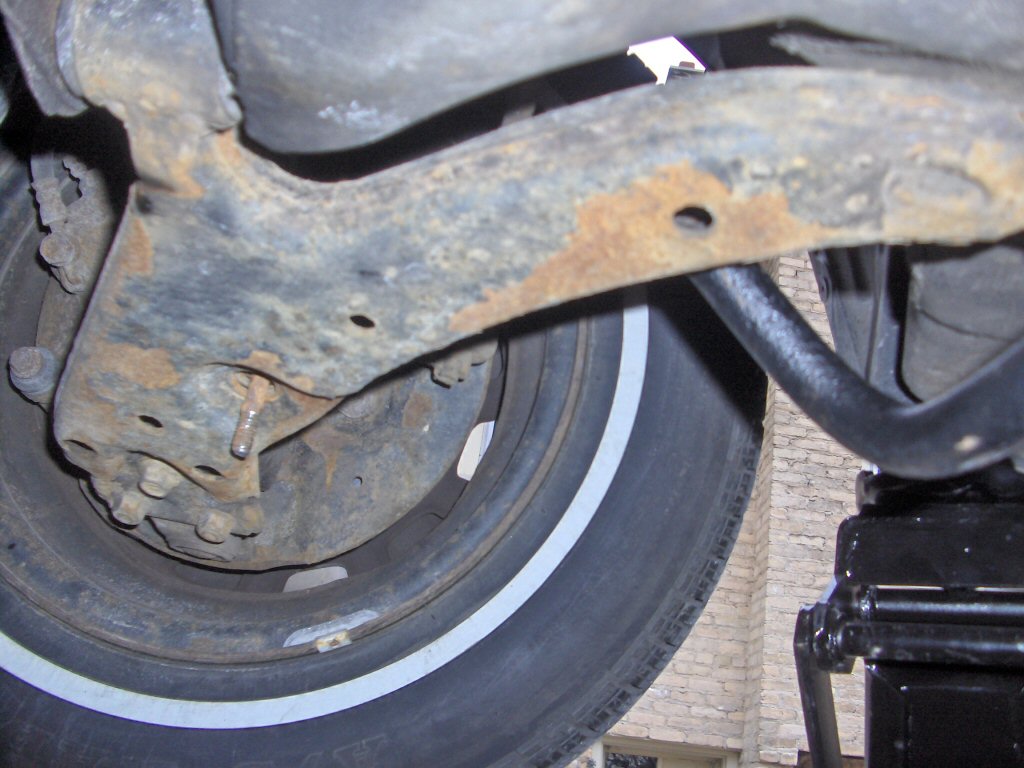
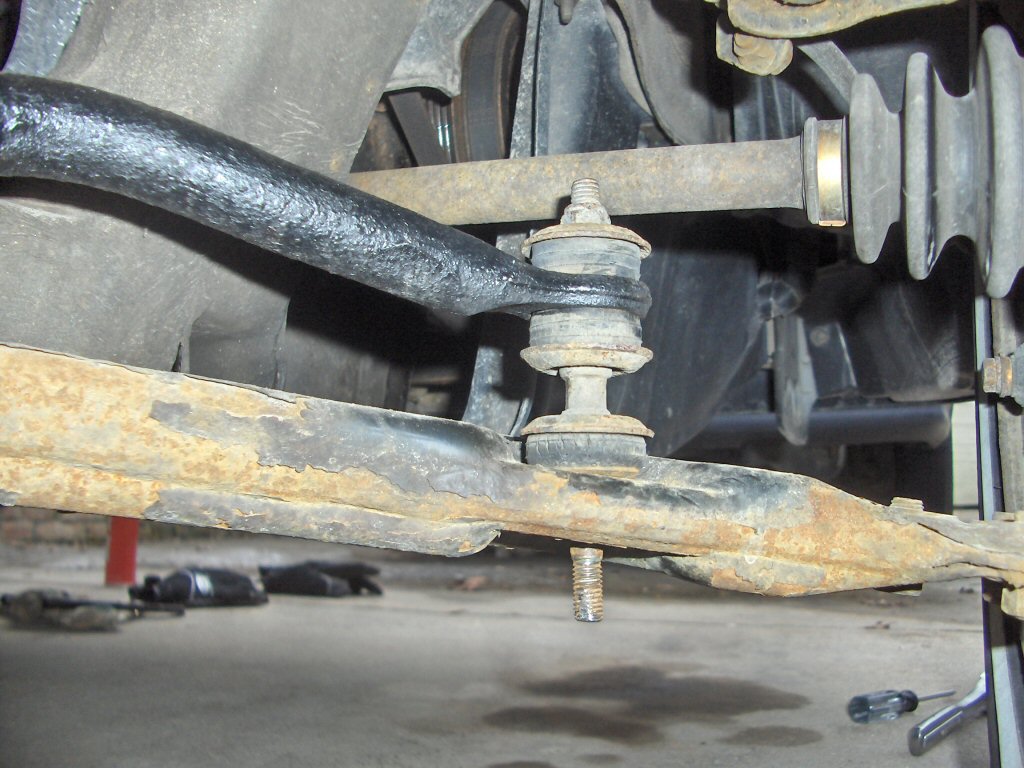
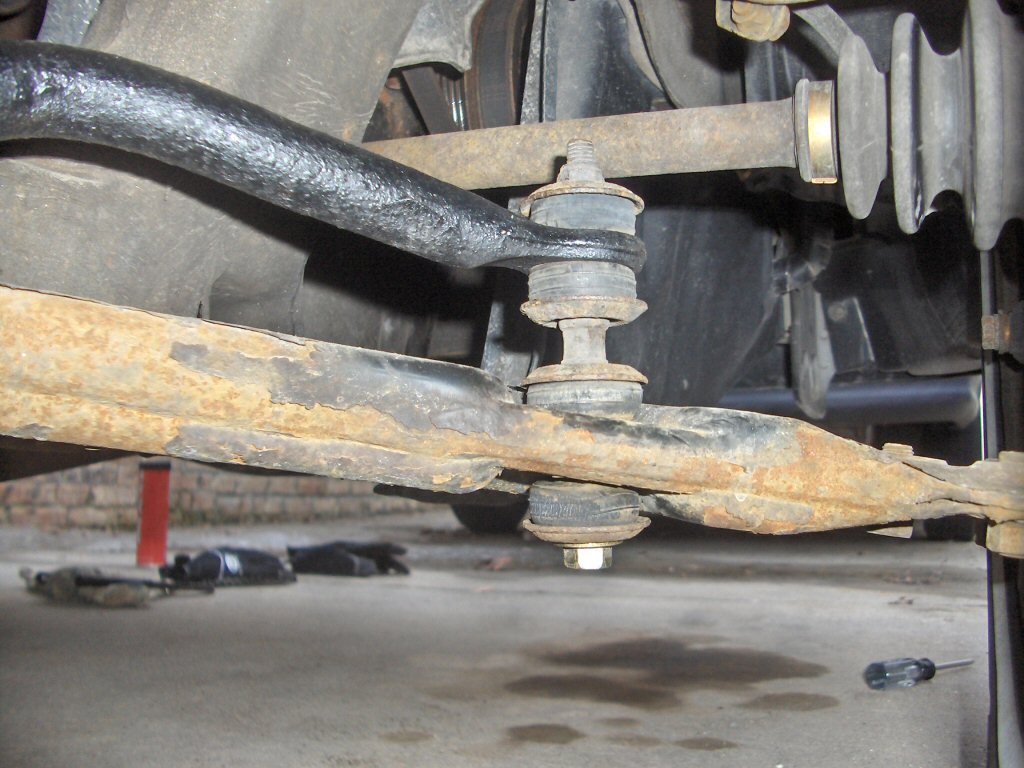
Take the sway bar and put the end links into the holes in the a-arms.

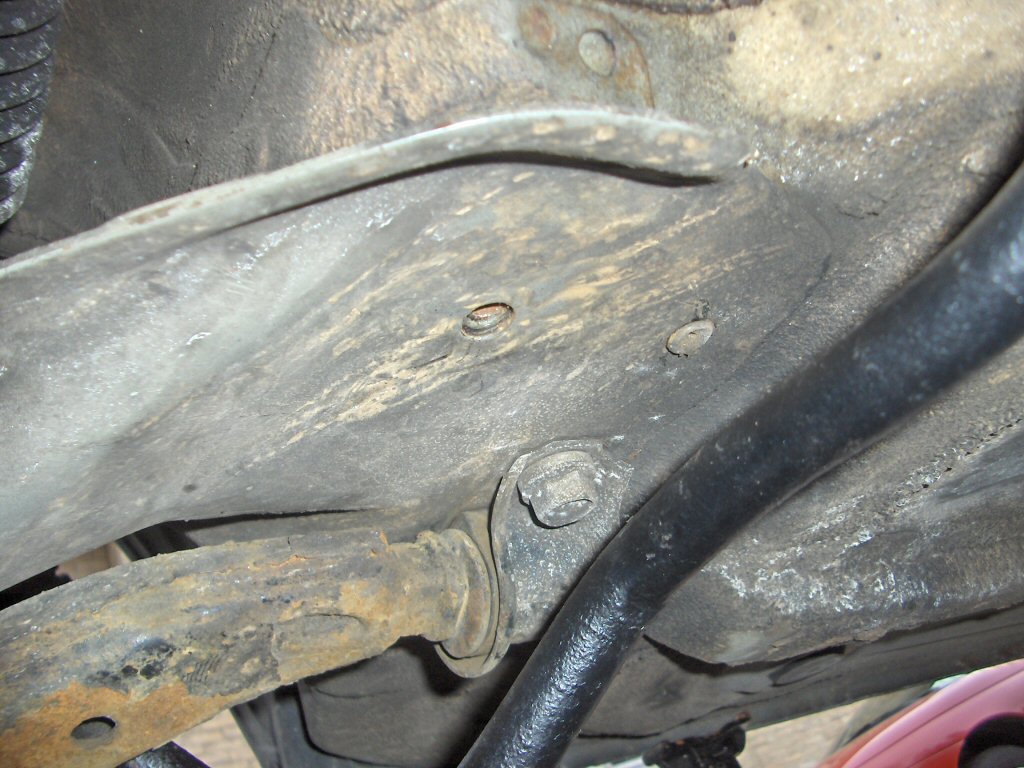
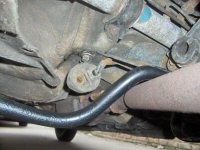
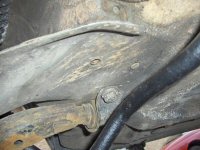
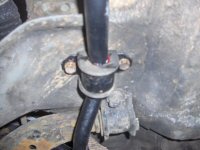
Find the two mounting holes for the sway bar brackets. They are right next to the rear a-arm mount and should have rubber plugs in them. You'll have to remove these plugs. To get them out stick a screw driver into the hole and pry them out (a pliers also helps once you get them started). If you end up ripping one don't worry, just push the rubber plug into the hole and it should leave you enough room for the bolt to go in.
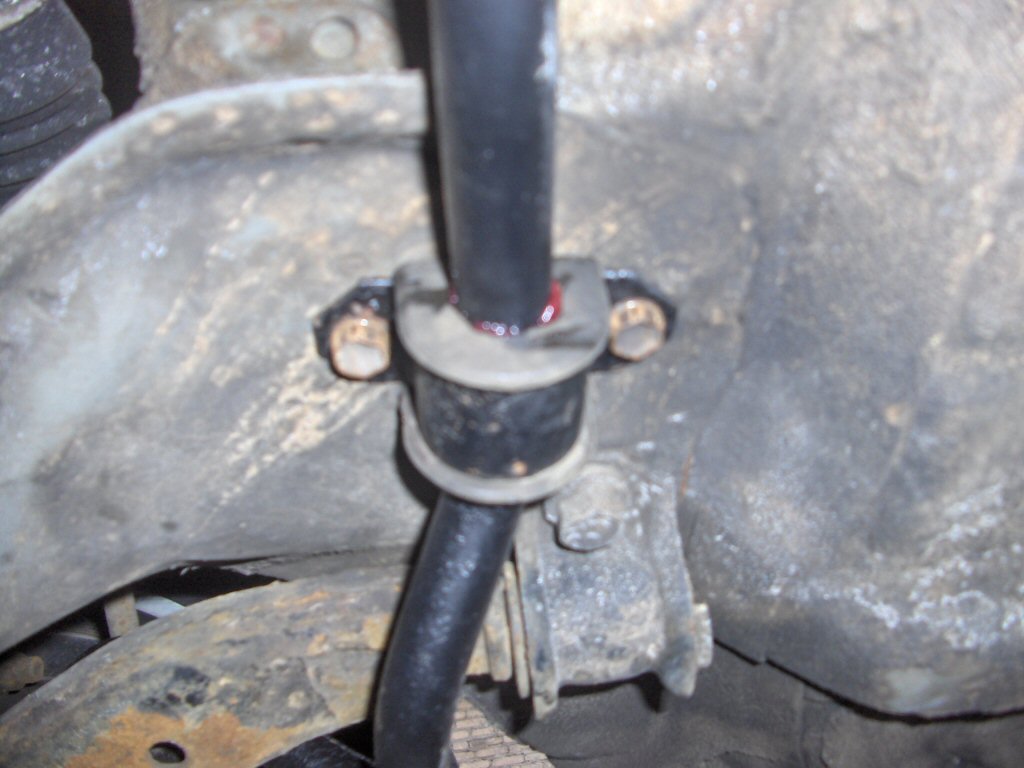
With the plugs out you are ready to install the sway bar brackets. Make sure to grease the hole in the bushing where the sway goes through. With the bushing greased fit it over the sway bar.
Now, simply take the metal bracket and bolt it to the chassis. Repeat for the other side.
After bolting up both brackets go ahead and lower the car off the jack. This lines the endlinks up better for bolting to the a-arms. So, just go ahead and put the bushing, washer, and nut back on the endlink. Make sure to tighten it down good. The endlink has a flat on it so you can stop it from rotating with a wrench. Repeat for the other side and thats it, your done!

BACK