BACK
Center Console Repainting and Installation
Written by: djsilent
Well, Last week I bought a blue center console for use in my Paseo, but my interior is black. They are rare enough that I figured I would just repaint it when it got here since I had the Vinyl Dye already. Here's one method of doing it, but certainly not the only way. Please excuse the crappy blurry pictures, my camera really sucks. Here we go.
Total Time < 1 Hour
Ease of project = 1.5 out of 10
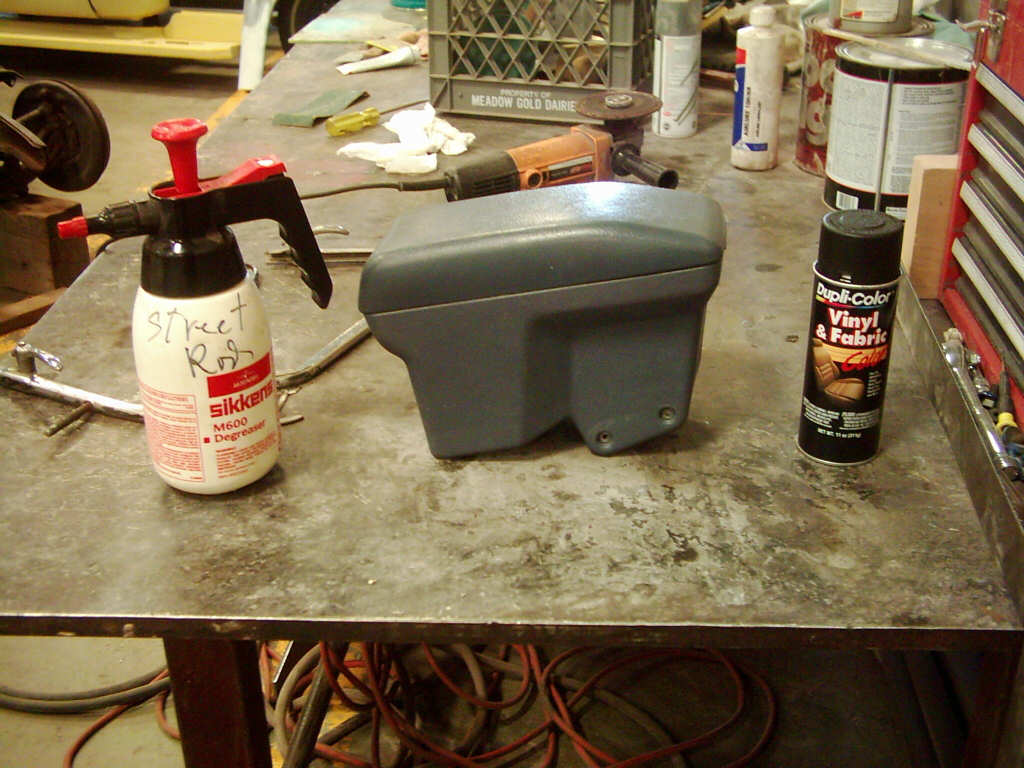
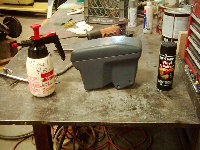
These are my tools of choice:
- Wax and grease Remover
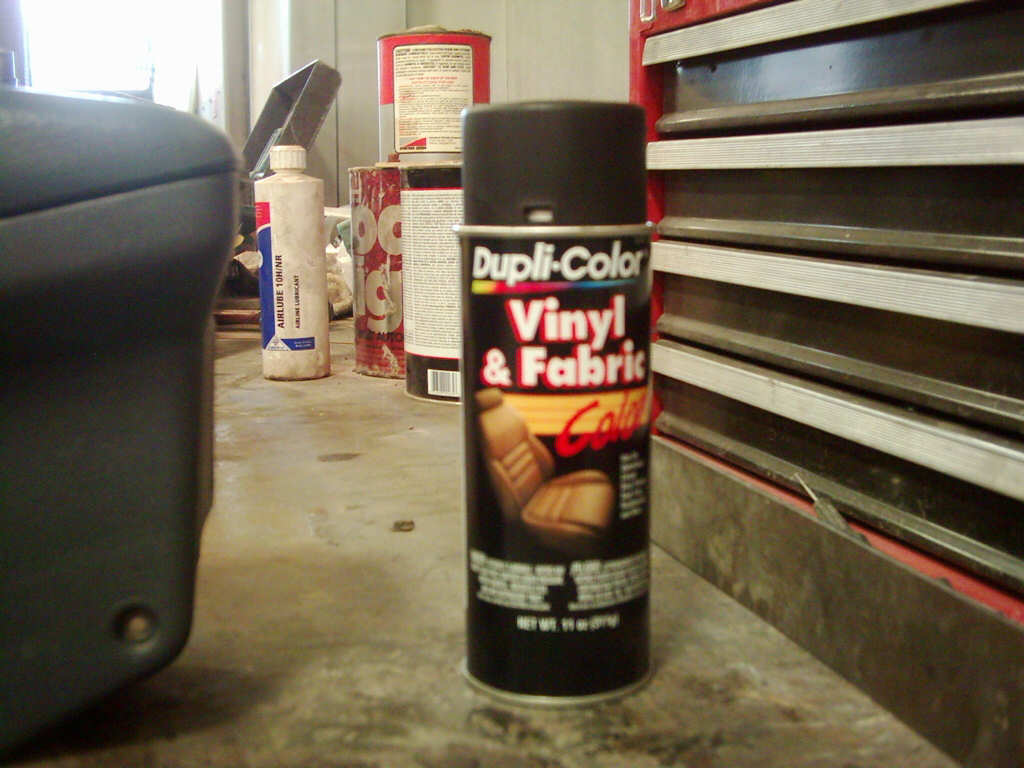
- Duplicolor Vinyl Dye in Flat Black.
A Close-up of the vinyl dye I used. This can be bought at any parts store, or any Wal-Mart, and probably a whole lot of other places. It's about $4-5 a can, and I used maybe 20-25% of it on this project.

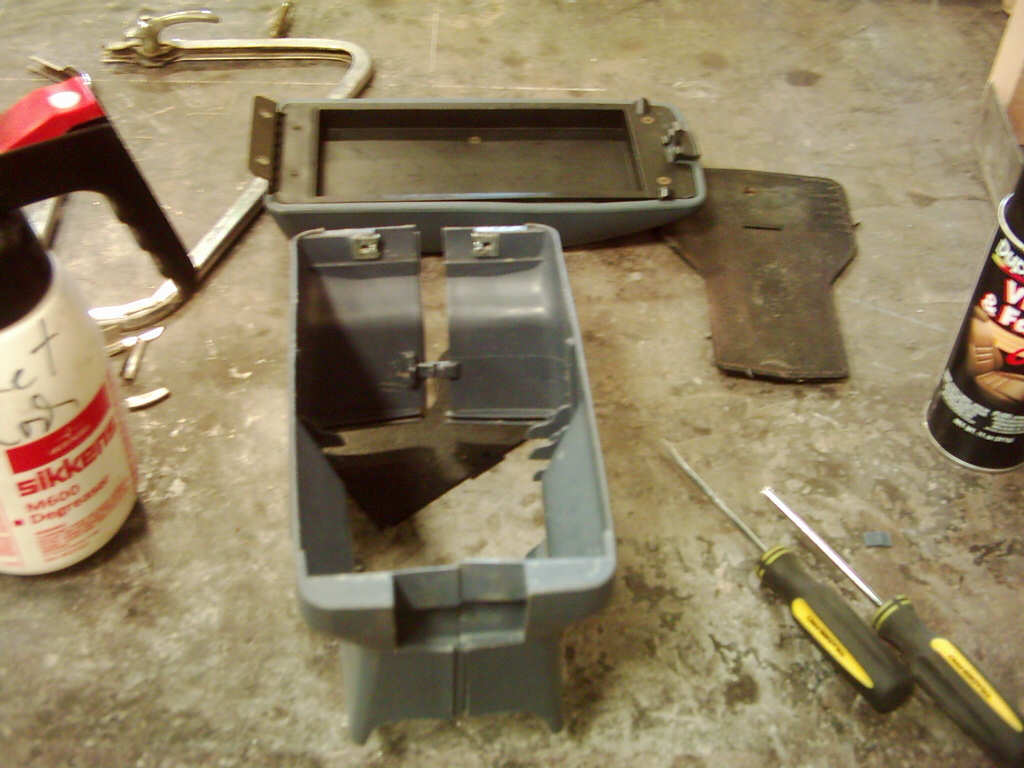
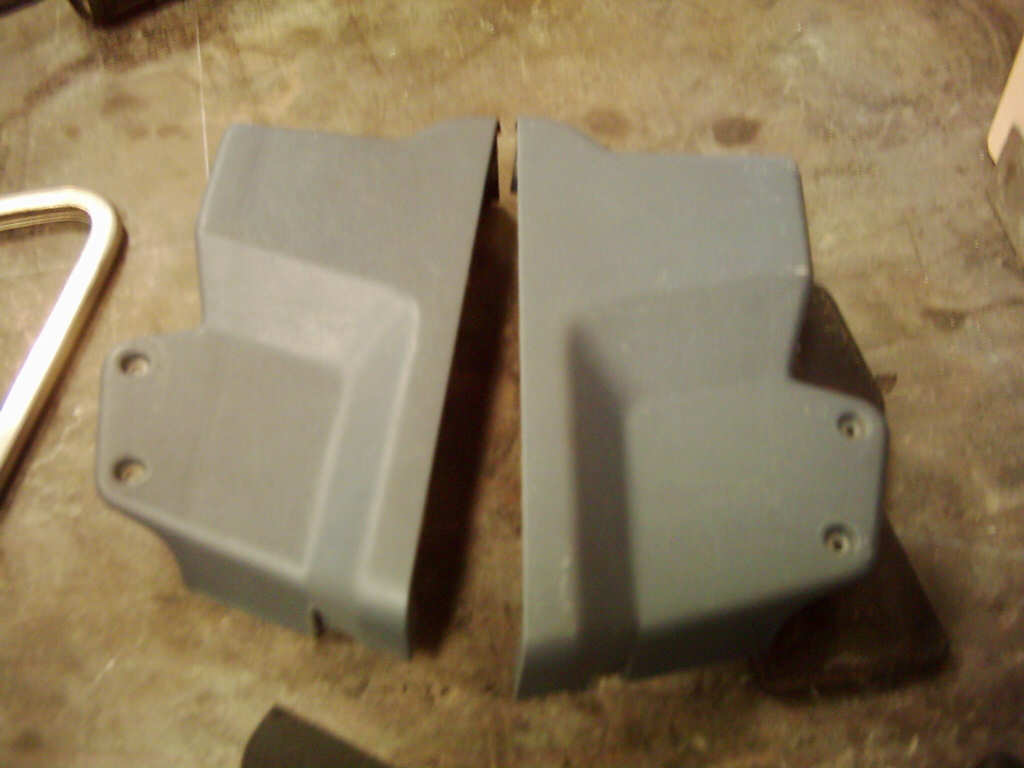
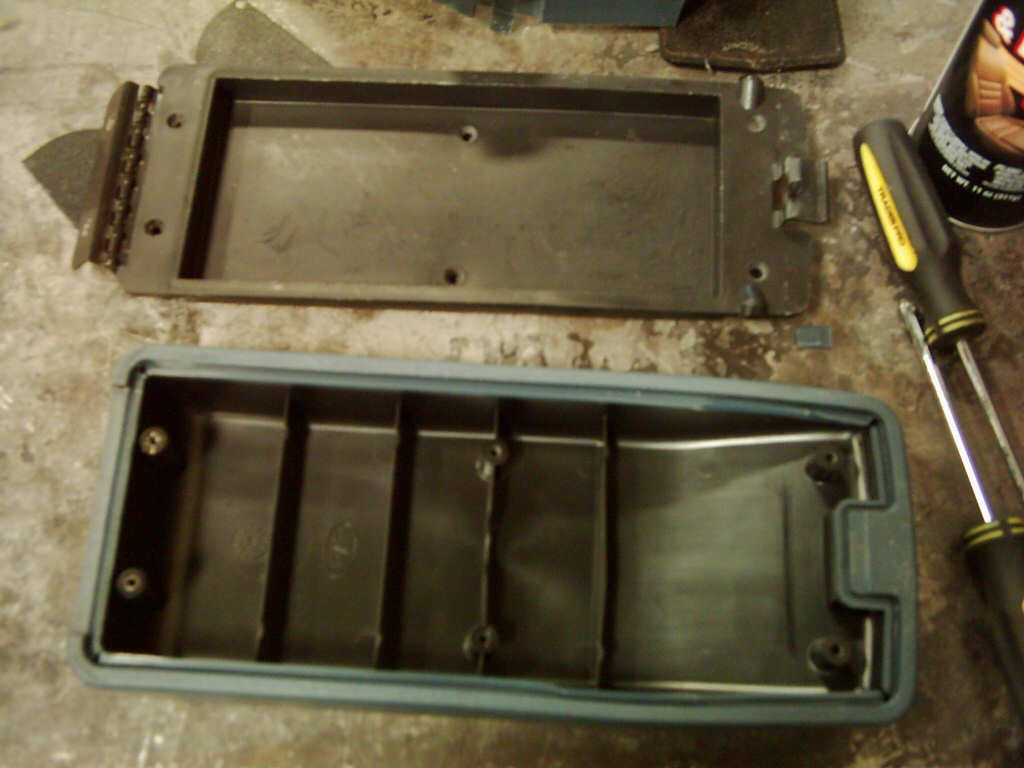
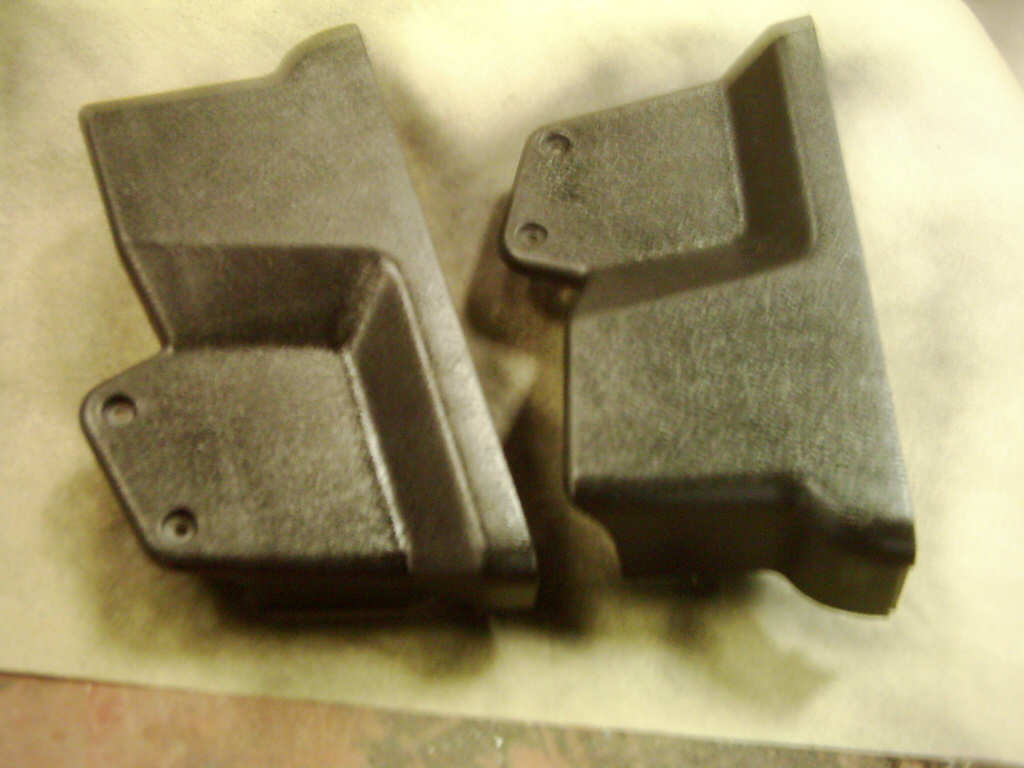
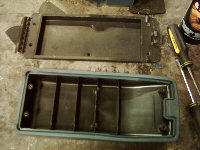
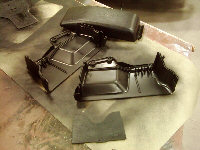
Step 1: I decided to do a thorough job of painting, and since the console is made in two pieces, I decided to break the whole thing down. If you only want to paint the outside for ease, then skip to step # 3. The first step is to remove the lid by removing the two screws. Then, you will find 3 tabs inside the console holding the two halves together. I used a screwdriver to pull the cover of the tab back a little while pulling the two halves apart. This was tricky, but I got it done with only breaking one of the tabs on the front off (out of 2, and no problems). When you seperate the two halves, the bottom and divider piece will both come out.
Here's pics of the 2 seperated:
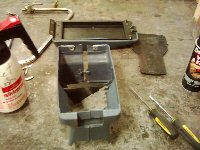

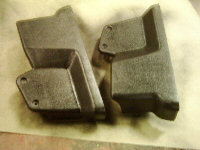
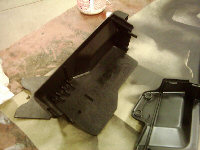
Step 2: Removing the inside of the lid. There are 6 screws holding the inside of the lid to the outside of it. 2 of the screws also hold the hinge to the lid, and these screws are longer than the other 4. Remove all 6 screws and lift off the inside of the lid.
Note: This is as far as you need to go as the vinyl covering is glued on to the rest of the lid and should not br removed. Anything under here will never be seen, so no need to paint under there anyway.
The Lid is covered in vinyl, but the rest is plastic. This is helpful as the dye works amazing on the vinyl, which is where your arm sits. That is it for the breakdown of the console, it's time for the next step.
Step 3: Wax and Grease remover. Use it generously, as this will ensure proper adhesion of the dye to the plastic and vinyl. Wash everything in the stuff, and don't touch the parts with your bare hands afterwards. This step is extremely important as any Armor All or other silicone cleaners that were used will cause the paint to fisheye or blister off. Doing this will help make it look original and last a long time. The proper way to use it is to apply it directly to the part OR to a clean rag or paper towel, and wipe off the part. You must make sure to wipe it off while it is still wet, or it won't do anything. If you spray it and don't get it wiped off before it evaporates, apply again and wipe off.
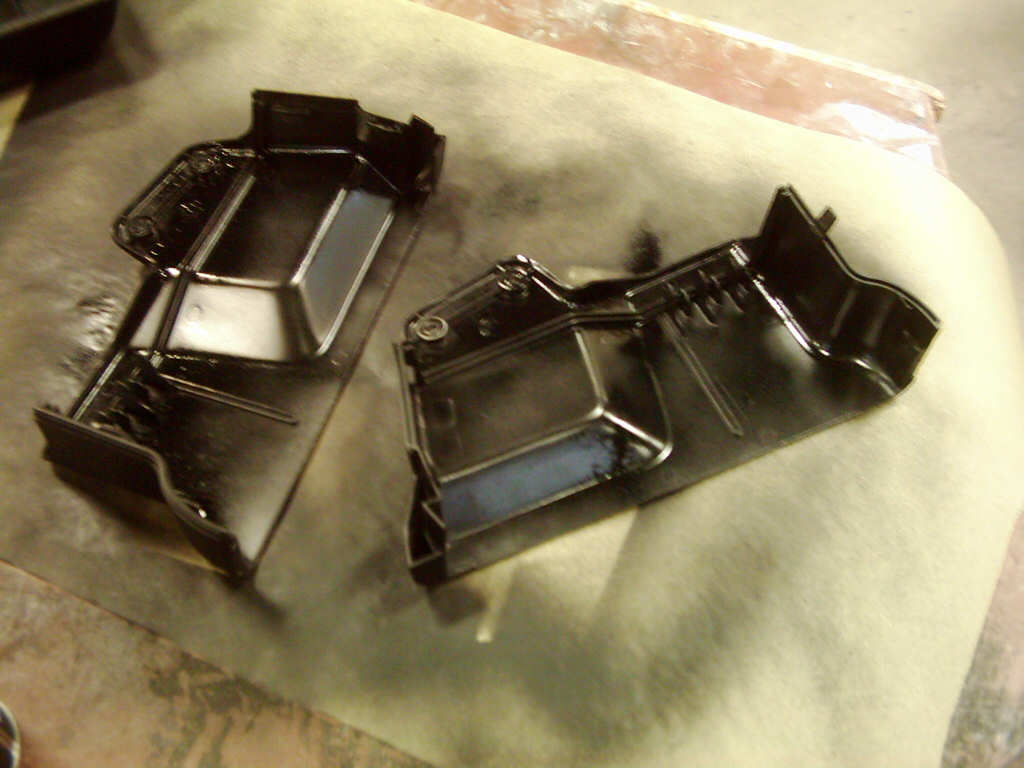
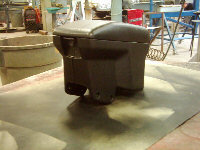
Step 4: Painting. Simply lay the parts off, and go to town. Apply is medium coats, over the entire parts, and let the paint flash (meaning the chemicals evaportae leaving just the dye). This takes about 5-10 minutes depending on how much you put on. You can tell if it has flashed with the color I chose as it will look flat rather than shiny as it does when first applied. If you're not sure, wait longer. Remember, you don't need full coverage with your first coat. I was spraying black over dark blue, so I got about 80% coverage in the first coat, even though it looks totally black in the pics. 2-3 coats is all you should need when using black.

Coat # 2:


Let everything sit for 10 minutes or more after your second (or third) coat.
If you only painted the box without disassembling it, skip to step 8.
Step 5: Put the lid back together. This is much easier than taking it all apart, which wasn't overly difficult. Put the inside of the lid back in and don't forget the hinge. put the 6 screws back in, remembering to use the 2 long ones on the side with the hinge.
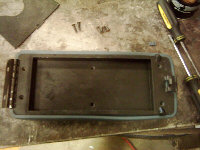
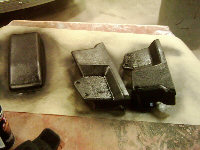
Make sure all the parts after they are dry to the touch, and ready to get put back together:
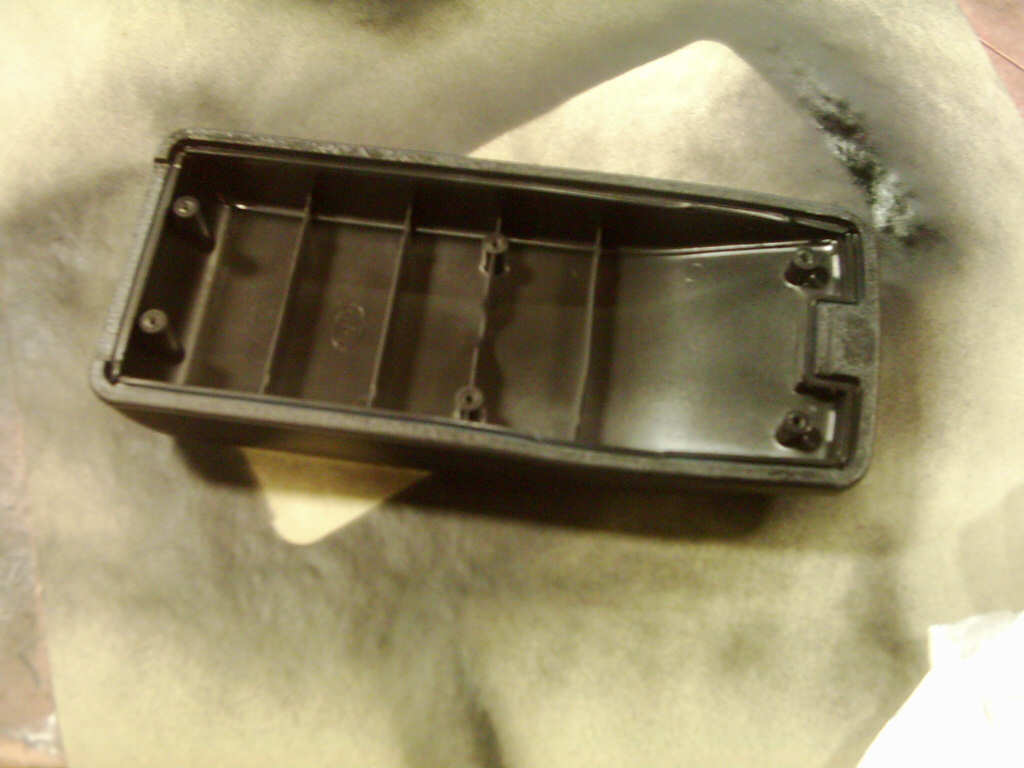
Step 6: Slide the bottom in one half of the console, then slide the other half of the console over this part. Make sure before you snap them back together that you put the divider in as well.
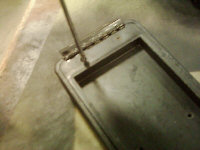
Step 7: Use the 2 screws and reattatch the lid to the console.
You are now done and ALMOST ready to install in the car. The only thing to do now is wait atleast 24 hours for the dye to really soak in and cure enough. It takes weeks to FULLY cure, but you won't notice the difference after about 24-48 hours.
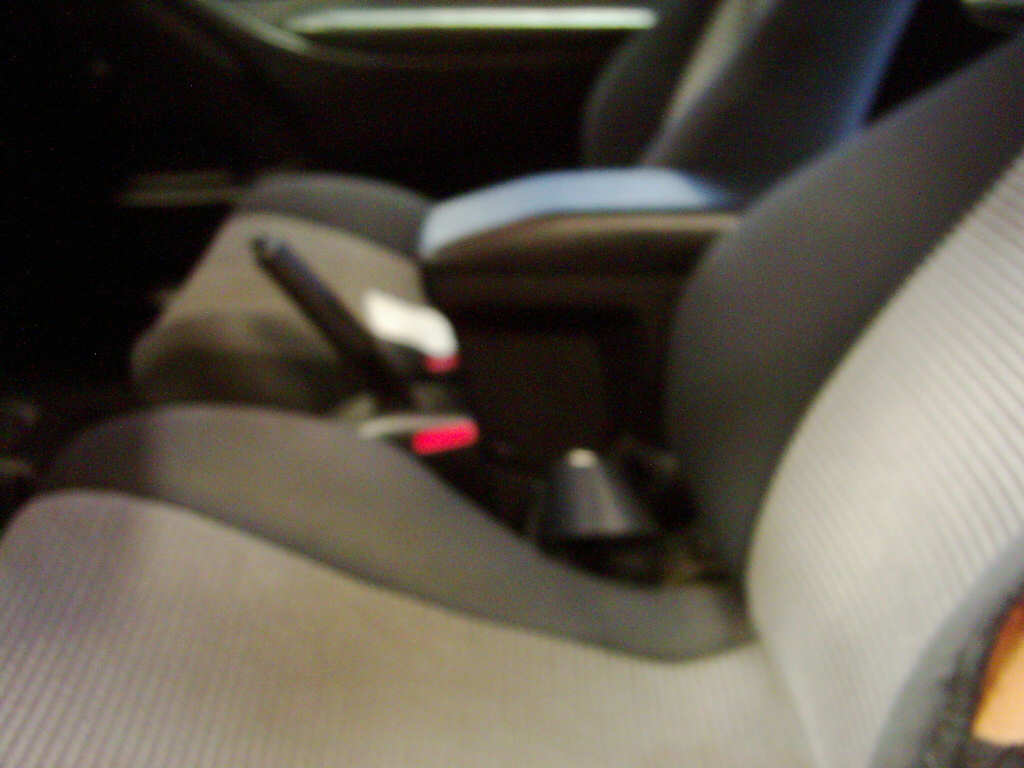
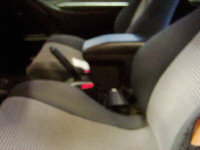
Step 8: Place the unit on the existing center plastic cover. You will find that it can move forward and backwards about 2 inches, and you will want to slide it all the way back. This is where everything sits flush, and it kind of locks at that point.

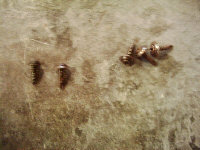
The 4 screws I used, which are self tapping since it's just plastic (compared to one of the other screws from the stock center cover).
Step 9: Either mark and drill the 4 holes that hold the unit in place, or use self tapping screws like I did. Hold down the unit, and just screw them in. You might need to adjust your seat to move the seat belt holder out of the way. Install all four screws the same way, and you're DONE!!
BACK