BACK
Brake Master Cylinder Brace Installation
Written by: Daox
The install of the brake master cylinder brace is very quick and easy. All you will need is a ratchet with a 13mm socket, socket extension, and a 12 point 13mm box end wrench and 13mm open ended wrench.
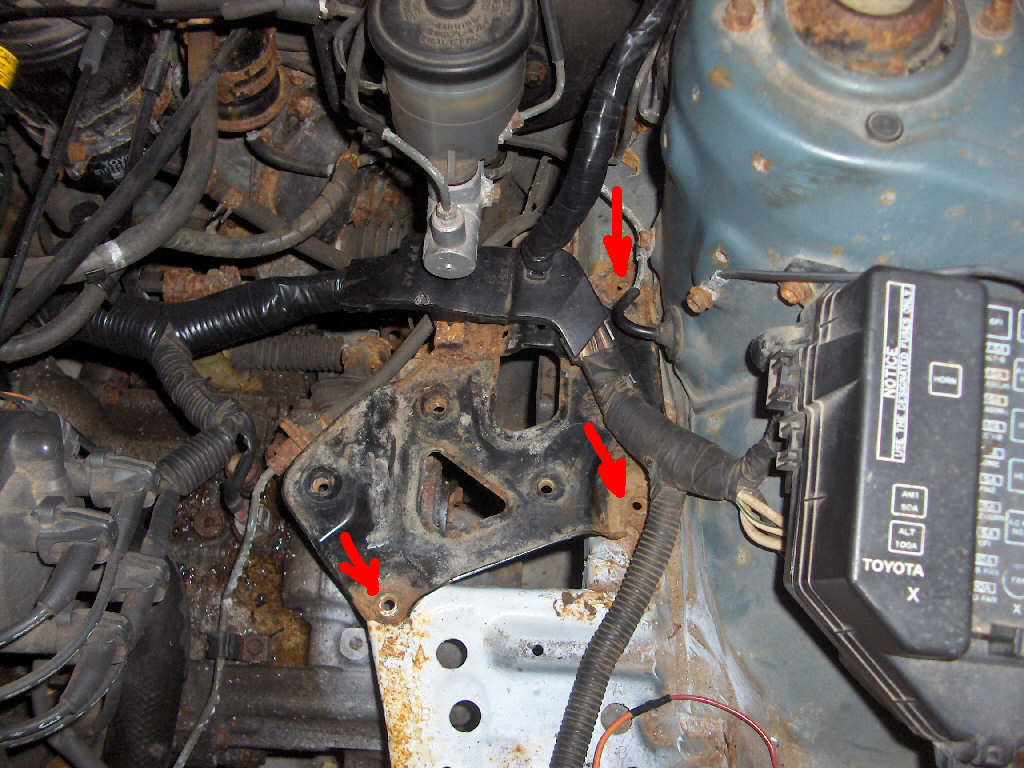
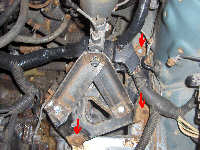
First off, we need to remove the air box tray from the car. To do this, simply remove the three bolts that hold it to the chassis.
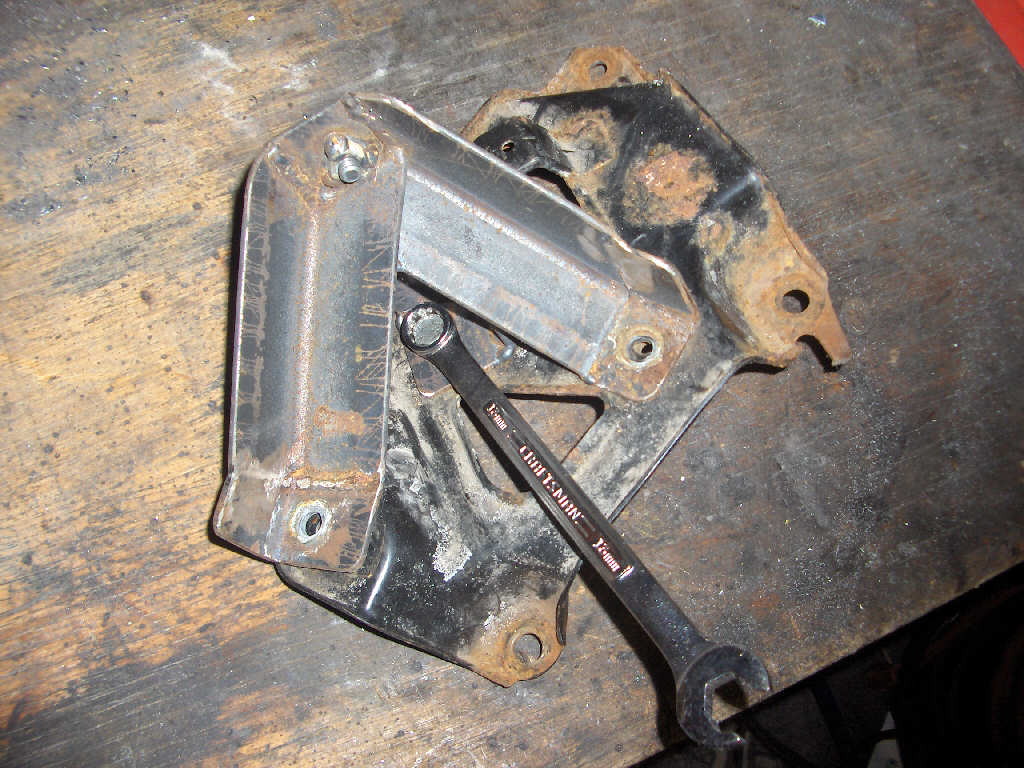
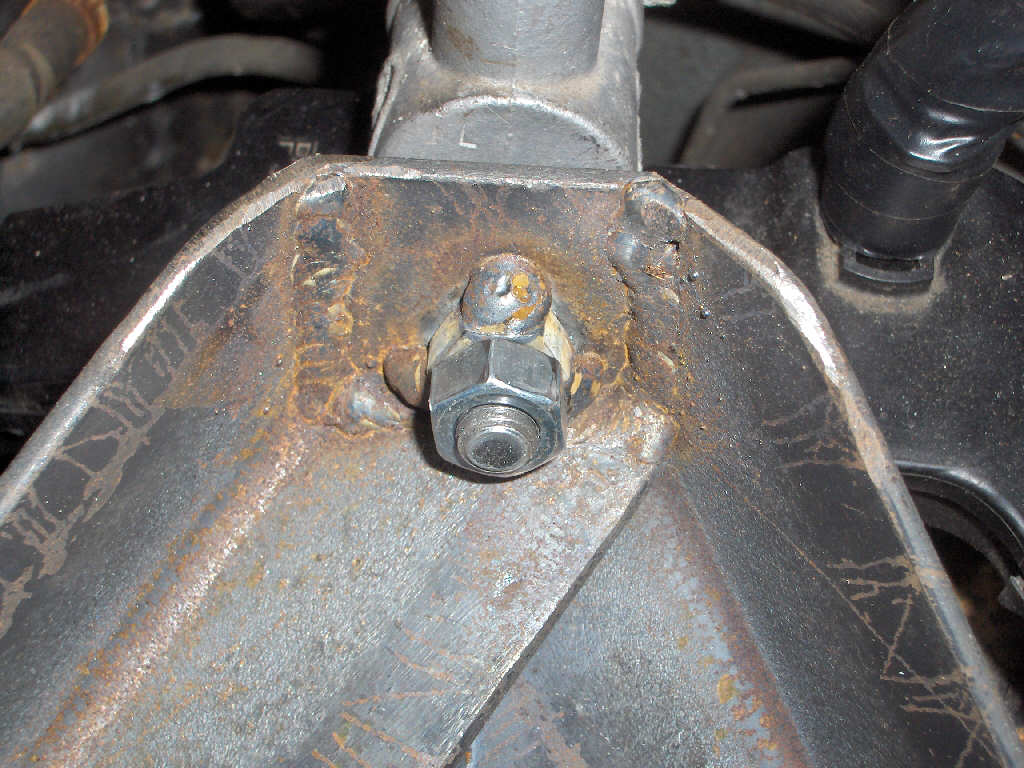
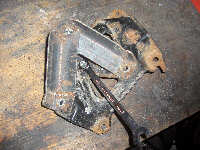
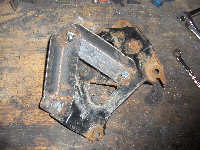
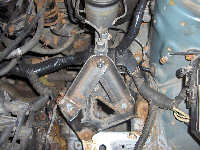
With the tray now out of the car, you can bolt the brake master cylinder brace to the airbox tray. The most difficult part of this is getting a wrench that fits between the two legs of the brace. I recommend using a 12 point box end wrench. Its slow going, but keep at it.
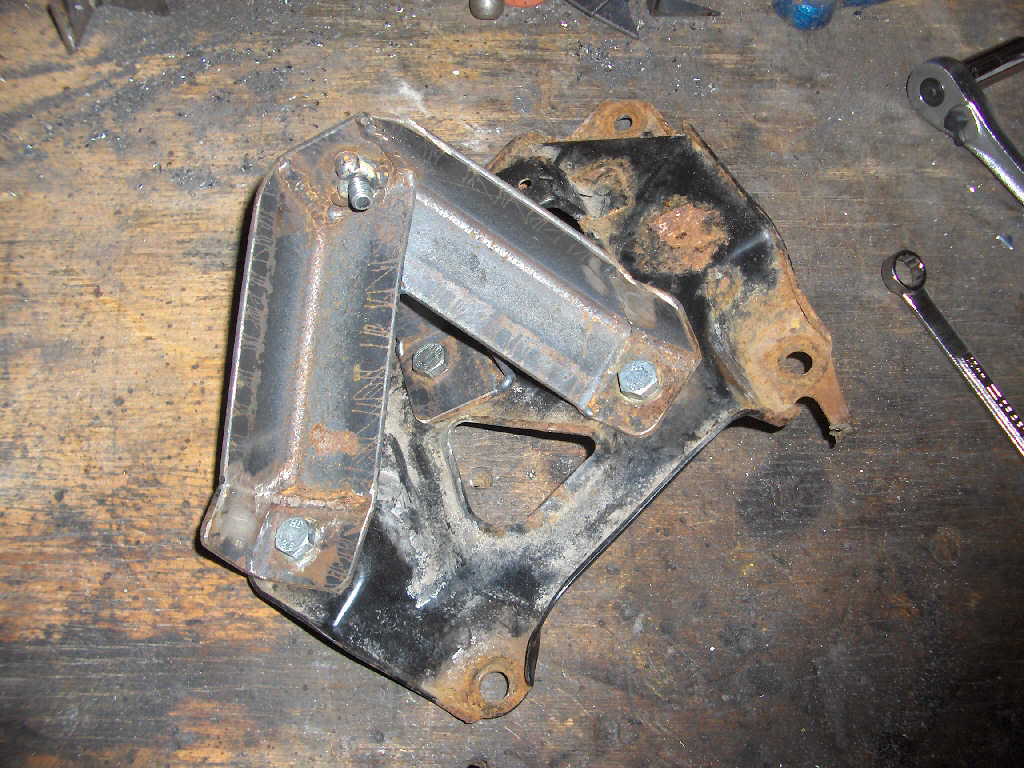
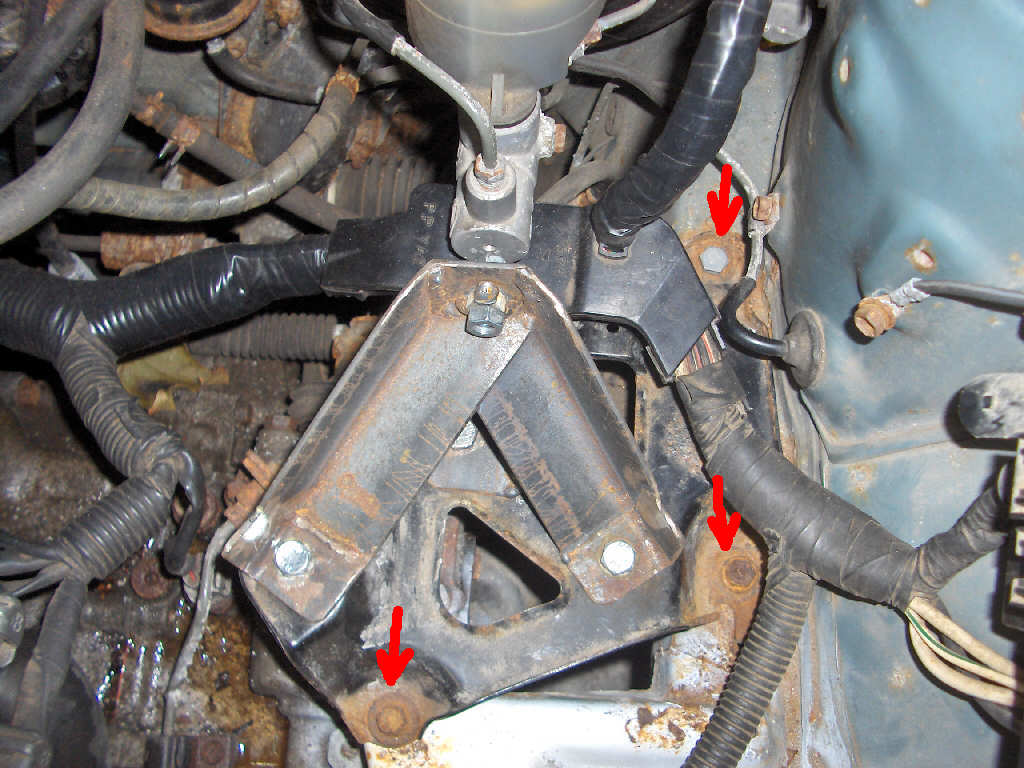
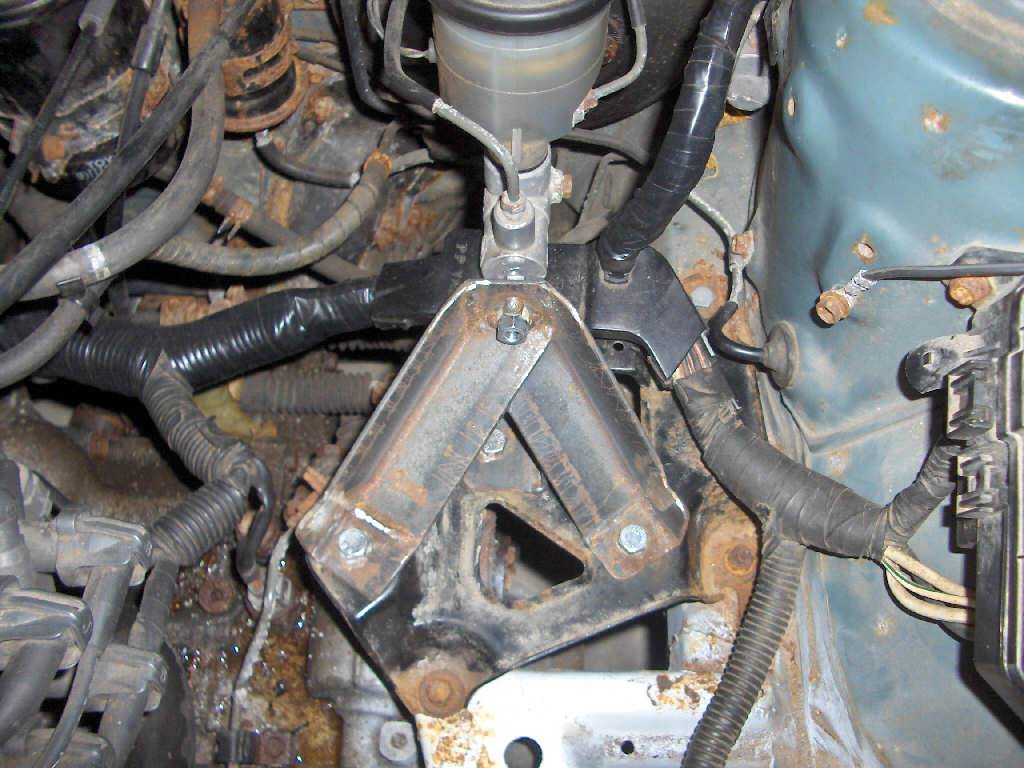
Now that the brake master cylinder brace is mounted securely to the airbox tray, we can put it back into the car. Reinstall the three bolts that hold the airbox tray to the chassis.
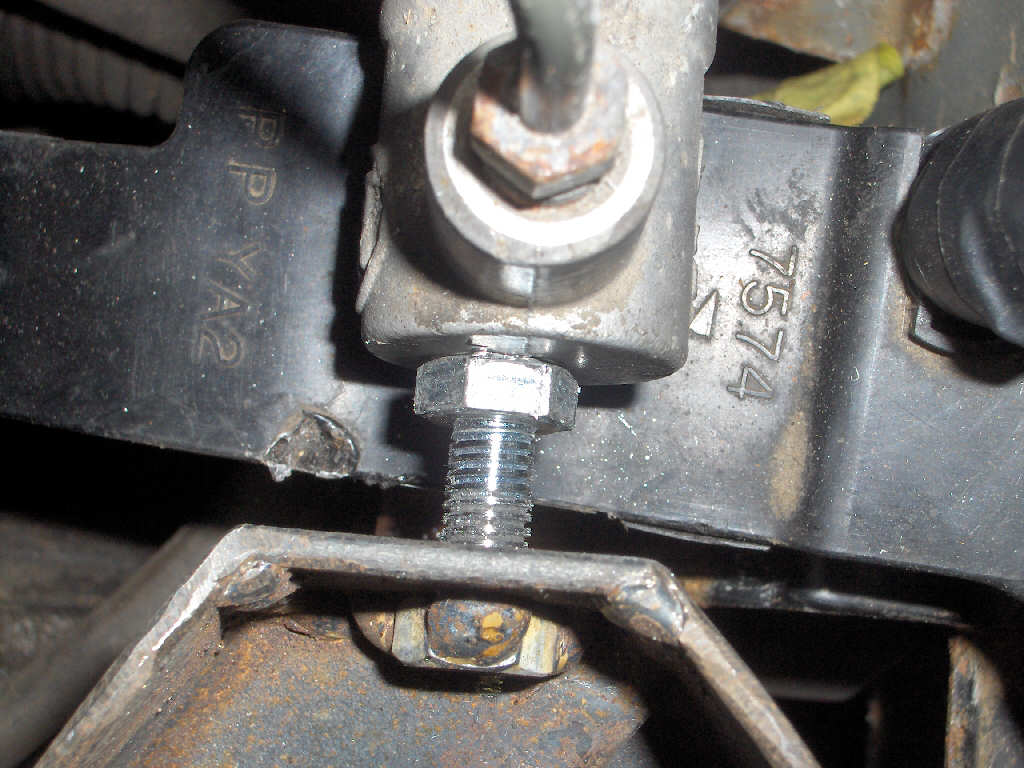
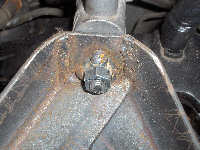
Now, we can adjust the brake master cylinder brace. Unscrew the bolt near the brake master cylinder until the bolt is quite snug against the master cylinder (yes, I know my bolt is too short).
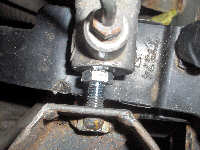
With the bolt snug up against the master cylinder, tighten the nut on the other side of the bolt to lock it in place. Make sure to hold the bolt from turning with the wrench as you tighten the nut.
There we go, one installed brake master cylinder brace. Have at it and see how it works.
If you are interested in buying one of these you can email me at daox@hotmail.com.
You can look at the development of the insulators here.
If your interested you can look into buying them here.
BACK